Creating and using custom form templates
Created on 08 Apr 2025
Custom form templates allow you to collect specific information from attendees when they register for your events. This guide explains how to create and use form templates for different purposes across your events.
What are form templates?
Form templates are reusable sets of questions that you can attach to various touchpoints in the customer journey. Once created, these templates are saved to your organiser account and can be used across all your events.
Types of form attachments
You can attach forms to:
- Checkout forms: Collect information once per order (applies to the entire purchase)
- Ticket type forms: Gather details from each individual ticket holder
- Waitlist/pre-registration forms: Capture information from people before offering tickets
- Standalone forms: Collect post-event feedback or other survey information
Building a form template
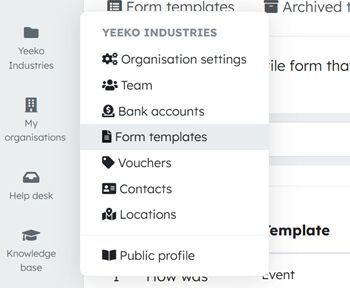
- Navigate to form templates from your organiser menu
- Select "Create template"
- Name your template (e.g., "VIP Ticket Information" or "Post-Event Survey")
- Select the appropriate type (checkout, ticket types, etc.)
- Add your questions using the form builder
- Save your template to your organiser's library
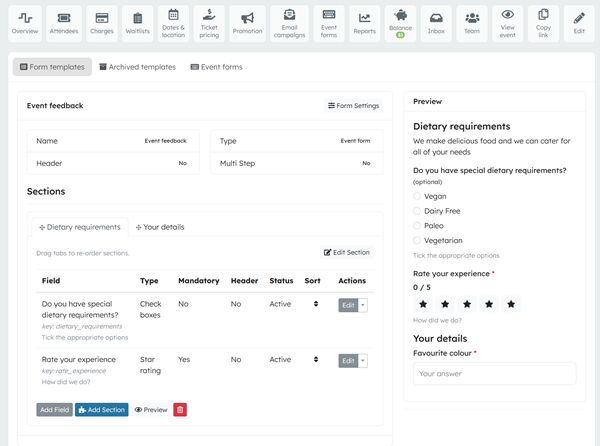
Adding questions to your form
When building your form, you can add various question types:
- Short text responses
- Paragraph text for longer answers
- Multiple choice questions
- Checkbox options
- Dropdown selections
- Star rating widget
For each question, you can mark fields as required or optional.
Attaching a checkout form to an event
- Go to your event management page and edit your event
- Scroll to the Checkout form section
- Select your saved form template
- Confirm your selection
Responses can be viewed and exported from the Charges section of your event
Attaching a form to a ticket type
- Go to your event management page, click ticket pricing
- Edit or create a new ticket type that you would like to attach a form to
- Scroll to the Data collection section
- Select your saved form template
- Confirm your selection
Responses can be viewed and exported from the Attendees section of your event
Attaching a form to a waitlist
- Go to your event management page, click Waitlists
- Edit or create a Waitlist that you would like to attach a form to
- Scroll to the Data collection section
- Select your saved form template
- Confirm your selection
Responses can be viewed and exported from the registrations page of your Waitlist
Attaching a form template to a standalone form
- Go to your event management page, click Standalone forms
- Edit or create a new Standalone form that you would like to attach a form to
- Scroll to the Form template section
- Select your saved form template
- Confirm your selection
Responses can be viewed and exported from the Standalone forms section of your event
Managing responses
All form responses are stored in your organiser's database and can be:
- Downloaded as CSV or Excel files
- Viewed within the platform
- Filtered by date, event or question
Tips for effective forms
- Keep forms concise to improve completion rates
- Only request essential information
- Group related questions together
- Test your form before publishing
- Consider privacy requirements when collecting personal data
For more help with custom forms, contact our support team.
Related articles
Learn about the different types of form templates and how and where to implement them
Webforms are a versatile tool that allow you to gather important information and feedback from users